Children in 1st grade are very curious about the world around them. They take in so much through observation and basic reading. This is the perfect age to engage your kids in learning through at-home science experiments.
It can sometimes be difficult to find age-appropriate activities that will be both fun and simple. Oftentimes, the concept behind the experiment is too complex for the child to understand.
But that’s ok, it creates the perfect opportunity to revisit the activity at an older age to explain a more difficult topic. So, what are you waiting for? Here are some easy kid inventions for 1st graders to get you started:
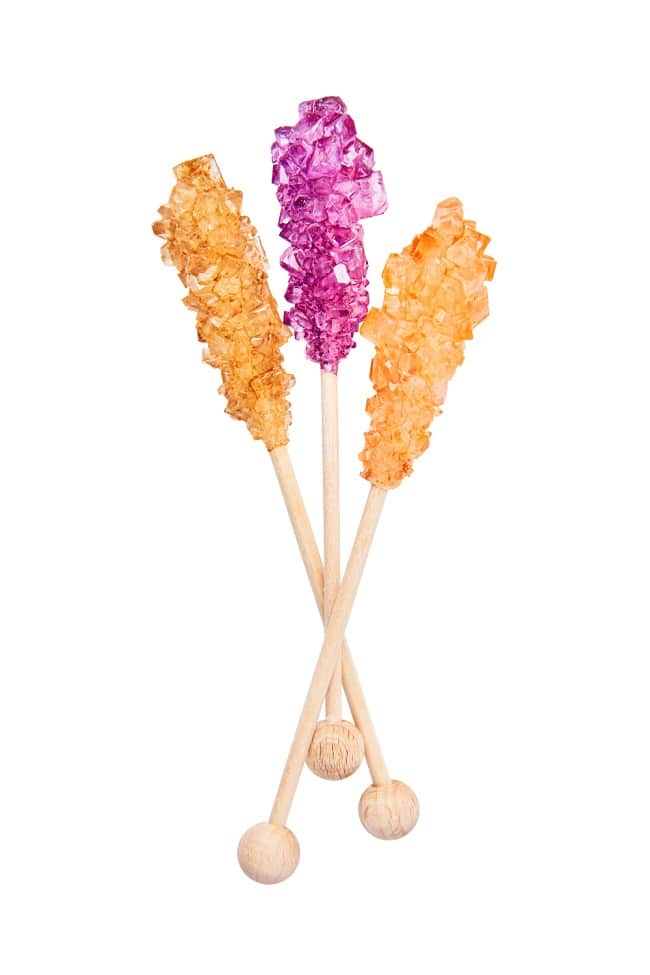
1. Rock Candy
The only thing better than a science experiment is a science experiment you can eat! The basis of this project is crystallizing table sugar in order to create colorful and tasty candy.
Even your older kids will enjoy this project (or at least the candy it creates!)
What you will need: yarn or string, pencil or stick, glass jar, pot for boiling water, spoon, 1 c. water, 3 c. table sugar, food coloring
Time frame: 30 minutes to set up, 5-7 days to grow
How to do it:
- Tie the yarn/string to the pencil/stick so that when the stick is placed horizontally across the glass jar, the yarn reaches almost to the bottom but doesn’t touch it. Take the stick with the yarn out of the glass jar.
- Have an adult boil 1c. of water.
- After the water has boiled, add just enough sugar so that it is saturated (meaning there is undissolved sugar), but as soon as it is saturated, STOP. Add food coloring. Pour the solution into the glass jar, avoiding adding the undissolved sugar.
- Place the yarn in the jar and cover it with a paper towel.
- Come back in 24 hours to see how much has grown!
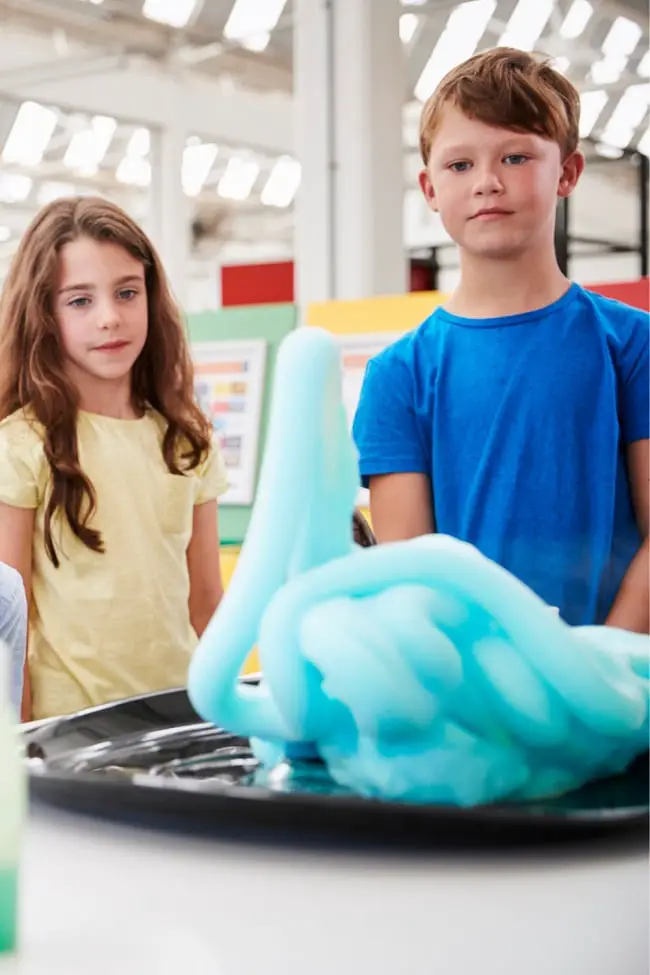
2. Elephant Toothpaste
Kids LOVE this easy invention! It’s easy to create and will keep them occupied for a whole afternoon. Be careful what clothes they have on. It can be messy!
What you will need: Plastic bottle, large pan, bowl, 2 tbsp warm water, 1 tsp yeast, ½ c. 6% hydrogen peroxide, dish soap, food coloring
Time frame: 10 minutes
How to do it:
- Mix warm water and yeast in a bowl for 1 minute.
- Mix hydrogen peroxide, a few drops of food coloring, and one squirt of dish soap in the plastic bottle. Put the bottle on the pan.
- Pour the contents of the bowl into the plastic bottle and there you go!
3. The Egg-cellent Experiment
This activity will blow your kid’s mind. They may not understand how it happens, but they will love the outcome! Just be sure everyone washes their hands after touching the egg.
What you will need: uncooked egg, glass jar, vinegar
Time frame: 5 minutes to set up, 3 days to sit
How to do it:
- Carefully place the egg in the jar so that it doesn’t break.
- Pour vinegar over the egg until it is submerged.
- Have your child observe the egg every day for three days.
- On the third day, remove the egg and rinse it with water.
- Let your child enjoy his/her new shell-less egg! (Be sure to have them play with it over a bowl or plate in case it breaks)
4. Magic Milk
This kid invention is both engaging and mesmerizing. It creates the perfect opportunity to discuss different substances such as proteins and fats.
You can even change up the colors and use them at a kid’s holiday party!
What you will need: 1 ½ c. milk, food coloring, dish soap, cotton swabs, a shallow dish, a small container
Time frame: 10 minutes to set up
How to do it:
- Pour the dish soap into the container and the milk onto the plate.
- Put drops of food coloring on the milk in whatever design you prefer.
- Dip the cotton swabs in the dish soap, then place them in the food coloring.
- Watch as the colors swirl and change!
5. Instant Icicle Creation
If your son or daughter loves the movie “Frozen,” they will be so happy to do this experiment with you! This is also a great way to talk about cold weather elements if you live in a warm climate.
What you will need: 16.9oz water bottles (around 6), a few cubes of ice, a plastic container
Time frame: about 1 hour to chill the water, 10 minutes for the activity
How to do it:
- Keep the water bottles in the freezer until they are almost frozen, but not quite. You will know they are ready when you hit them on the counter and ice forms inside.
- Place your container bottom-up and place the ice cubes on top.
- Carefully pour the water from one of the water bottles onto the ice cubes.
- You should see an ice tower form immediately! If not, it needs to freeze longer.
- Try to make a fun design!
6. Bottle Balloon Blower
This easy kid invention is a simple way to talk about chemical reactions if you would like. If the concept is too difficult, it’s still a fun activity to introduce your child to science!
What you will need: baking soda, vinegar, empty plastic bottles, balloons, funnels, measuring spoons, a large pan
Time frame: about 15 minutes for the whole activity
How to do it:
- Put the funnel in the balloon so you can pour the baking soda inside.
- Add 4-6 teaspoons of baking soda.
- Put the funnel on the bottle and pour around 1/3 cup of vinegar inside.
- Attach the opening of the balloon to the top of the bottle (without getting any baking soda inside).
- When you are ready, lift the balloon so that the baking soda goes into the bottle.
- Watch it inflate right before your eyes!
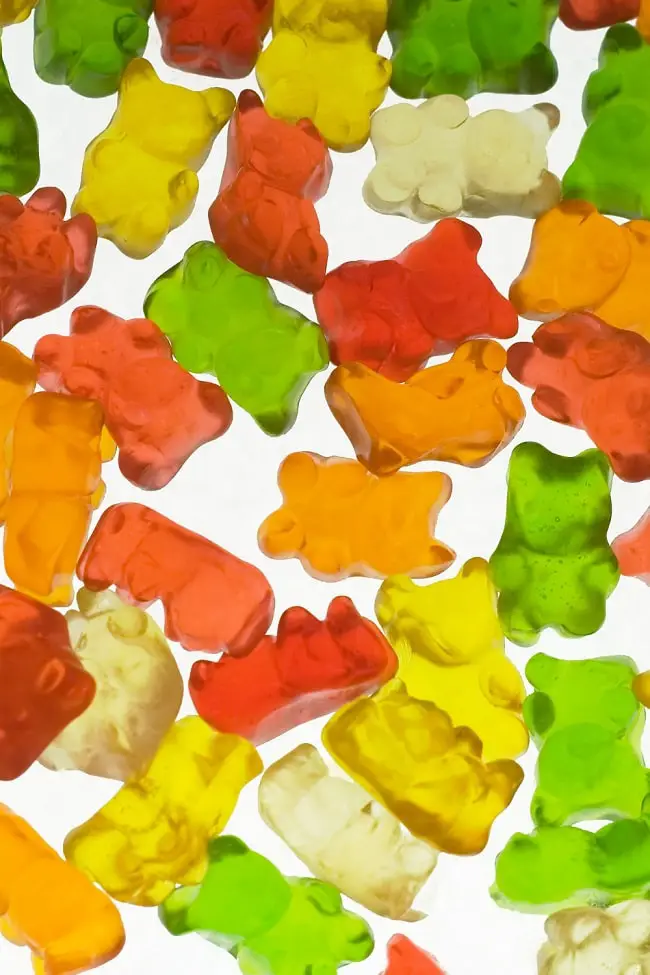
7. Growing Gummy Bears
You can use this experiment to teach your first grader how to create a hypothesis and make comparisons.
Some of the gummy bears will go in plain water, and some will go in saltwater. Ask your child what they think might happen before doing the activity!
What you will need: two bowls, water, a pot, salt, gummy bears
Time frame: 15 minutes to prepare, 8-12 hours to wait
How to do it:
- The adult needs to boil a cup of water.
- Gradually add the salt until it is saturated is will not dissolve anymore.
- Put the saltwater solution in the refrigerator (you don’t want it to melt the gummy bears!)
- When the salt water has cooled down, put the saltwater in one bowl and regular water in the other bowl. Put a couple of gummy bears in each bowl.
- Wait around 8-12 hours to see what happens!
8. Make Your Own Rainbow
Now this one is cool. With just a few materials, you can make a rainbow grow anywhere! No rain is necessary, but this would be a pretty neat activity to do when it is raining outside.
What you will need: very absorbent paper towels, washable markers, water, 2 small glasses (of the same size)
Time frame: 15-30 minutes (depending on how fast you color)
How to do it:
- Fold your paper towel “hotdog” style and make sure it is 7.5 inches long or shorter.
- Use the markers to make rectangles of the colors you want in your rainbow. Be sure you saturate it with a lot of ink.
- Fill two cups with water. Make sure the water is high enough to reach the paper towels, but not too high.
- Put one colored end of the paper towel in each cup.
- Wait for 10-15 and watch the rainbow make its shape!
Ask Questions
While your child may not have the capacity to understand the complex science behind each of these activities, it is still a great way to encourage them to think critically about the process.
Before starting, explain what you will be doing and ask questions such as:
“What do you think will happen?”
“Why do you think that will happen?”
“Have you ever experienced something like this before?”
When the experiment is over, you could ask the following questions:
“Were you correct about what you thought would happen?”
“Did you learn anything from this activity?”
“Does it make you want to try a different experiment?”
Overall, these easy kid inventions for 1st graders will keep your child engaged in a fun, stimulating activity that the whole family will enjoy!
Most items needed for the inventions above you can find around the house. They are the perfect “go-to” activity when you can’t go outside.
Put the numbers 1-8 on pieces of paper and put them in a cup. Have your child choose one and there you go—you have an invention to do!